JumpServer : An open-source PAM tool
JumpServer is an open-source Privileged Access Management (PAM) tool that provides DevOps and IT teams with on-demand and secure access to SSH, RDP, Kubernetes, Database and RemoteApp endpoints through a web browser.

Pros and cons of jump servers
Despite their benefits, jump servers also have a few challenges to consider.
Pros
- Basic OS and service configurations.
- No internet connectivity, which makes it difficult for attackers to add malware.
- No sensitive data stored on the system.
- Detailed monitoring, logging and auditing of the system.
Cons
- Exposing just one user's connections could open all connections.
- Could be difficult to harden and patch.
- Only provides front-end security; other network layers must be secured.
Demo
Access Demo site : https://demo.jumpserver.org/
Install JumpServer
curl -sSL https://github.com/jumpserver/jumpserver/releases/latest/download/quick_start.sh | bash
Access JumpServer in your browser at http://your-jumpserver-ip/
- Username: admin
- Password: ChangeMe
Quick Start
Source : Quickstart Guide - JumpServer
Administrator Login
You have successfully installed JumpServer. You can now access the JumpServer service using your web browser by navigating to http://your-jumpserver-ip/. For the best experience, we recommend using Google Chrome.
Please log in using the default administrator credentials:
- Username: admin
- Password: ChangeMe

Upon your first login, you will be prompted to change your password. Simply make the change and log in again.
Create User
After logging in to JumpServer, let's create a user first:
- Navigate to the Console and access the User Management page.
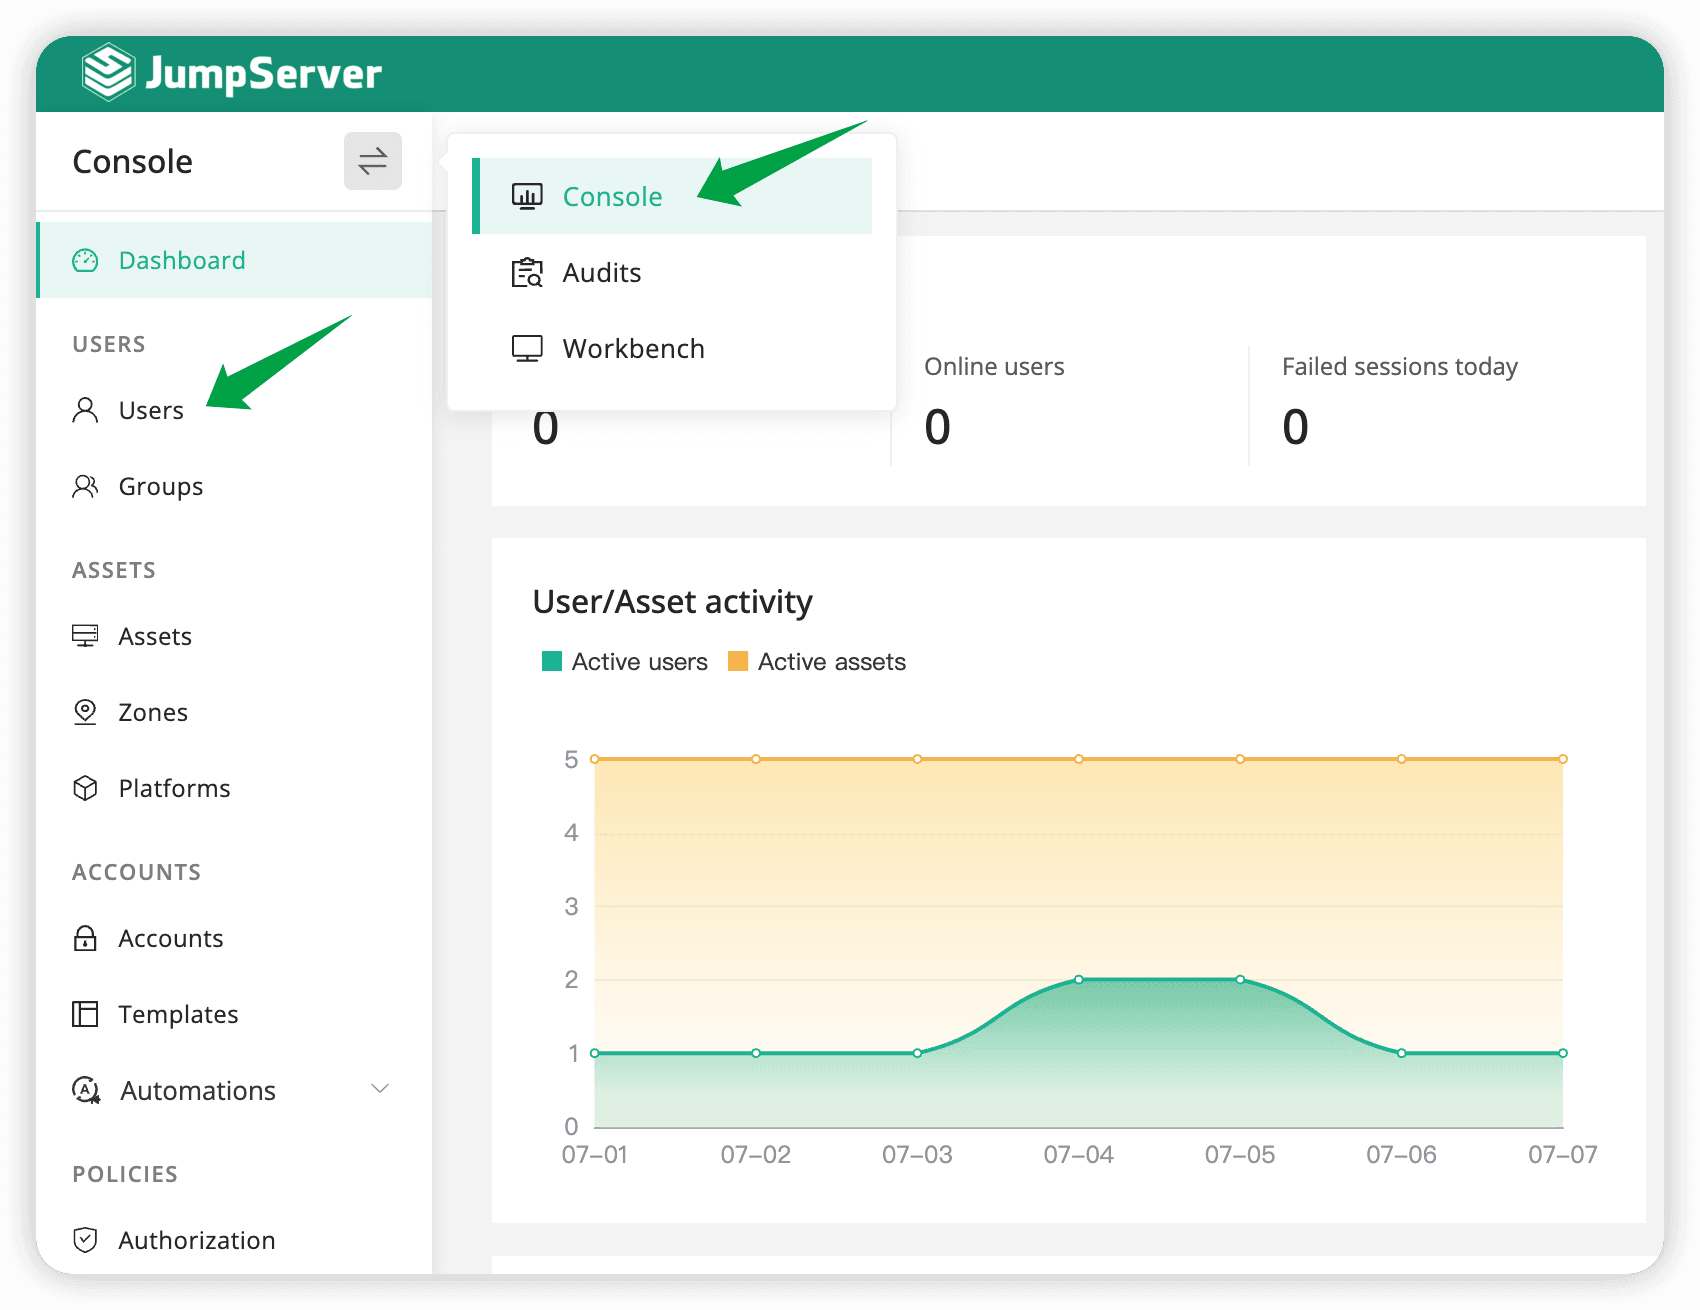
- Click the +Create button.
- Fill in the user information.
- Name: First User
- Username: first_user
- Email: first-user@example.com
- Password setting: Set Password, and enter pwd@123
Please keep the other information at their default values.

- Click "Submit" to complete the user creation.
Create Asset
Next, let's create an Linux asset:
- Navigate to the Asset Management page.
- Switch to the Host tab, and click the +Create button. In the popup window, select the built-in Linux platform to open the host creation page.

- Fill in the asset information.
- Name: First Asset
- IP/Host: 172.17.200.27
- Platform: Linux
- Nodes: /Default
- Protocols: ssh/22, sftp/22
To Ensure Successful Connection in the Following Steps, please enter the correct IP/Host and SSH protocol port.

- Add an account to the asset.
Click the Add button in the Accounts section to add an account. In the popup window, enter the correct Name, Username, and Password. Keep the other information as default. Click Confirm to complete the account addition.
- Name: root
- Username: root
- Password: your-password

- Click Submit to complete the asset creation.
Create Authorization
Finally, let's create an authorization.
- Navigate to the Authorization Management page.

- Click the +Create button.
- Fill in the authorization information.
- Name: First Authorization
- Users: Select First User
- Assets: Select First Linux
Keep the other information as default.

- Click "Submit" to complete the authorization creation.
User Login
Excellent, we have successfully created one user and one asset, and authorized the asset for the user. Next, let's proceed to log in to JumpServer using the user First User.
- To log in simultaneously with both the Administrator and First User, please open a new browser window in incognito mode.
- After logging in with the username first_user and password pwd@123, you will be prompted to reset your password. Simply follow the steps to reset your password, and then log in again using the new password.
- After successfully logging in, you will see a page to complete personal information. Check "I agree" and click Submit.

- Navigate to the Workbench > Access assets page, where you can view the assets authorized to you. Here, you will see that the asset named First Linux has been authorized to you.

Simply click the Connect button here to access the asset.
Access Asset
After clicking the asset connection button, a new tab (Web Terminal) will open in your current browser, and the connection information for logging into the asset will also be displayed.
- Confirm the connection information: select root as the account and choose "Web CLI" as the connection method.

- Click the CONNECT button to log in to the asset.
- Congratulations, you have successfully accessed the assets you have permission to use.

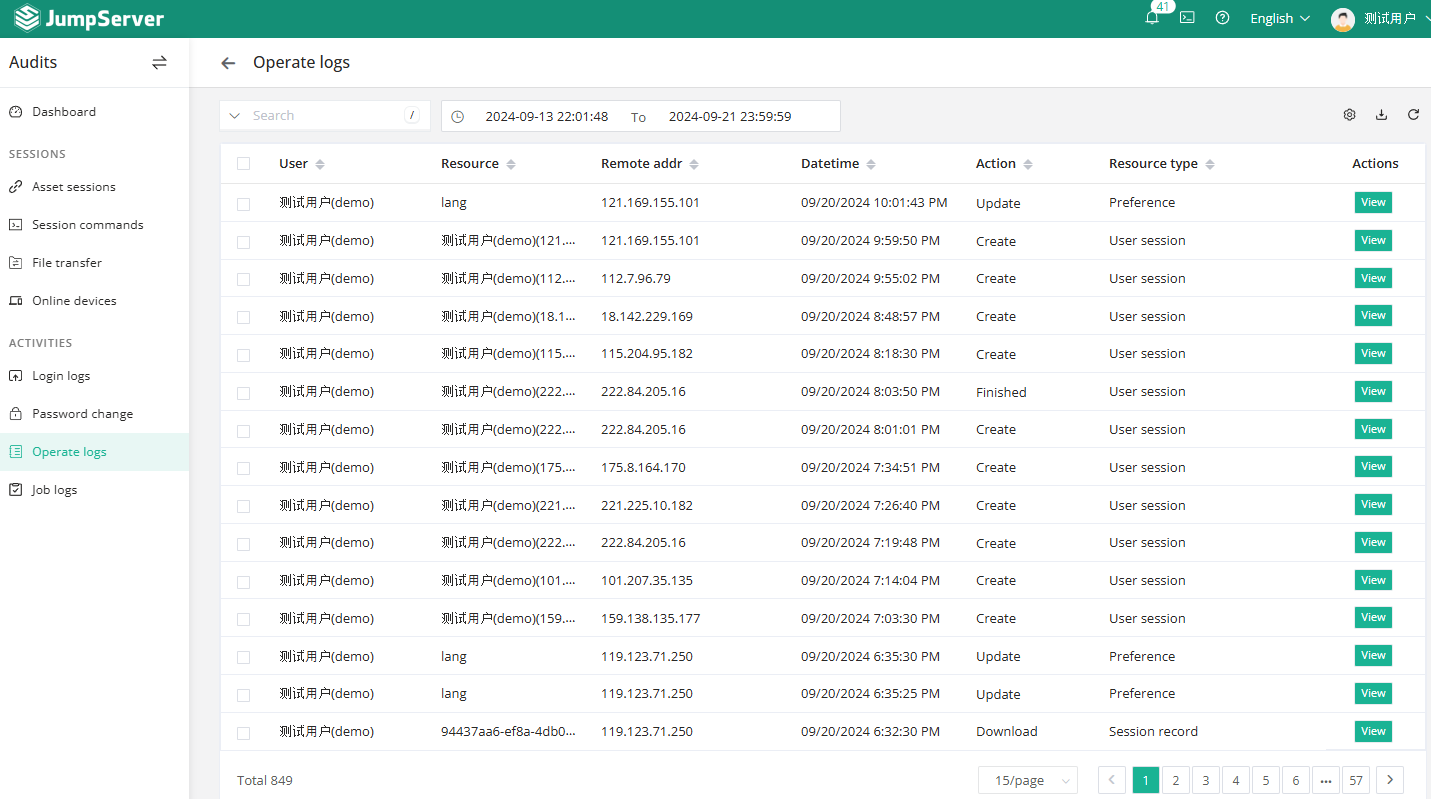
Audit logs
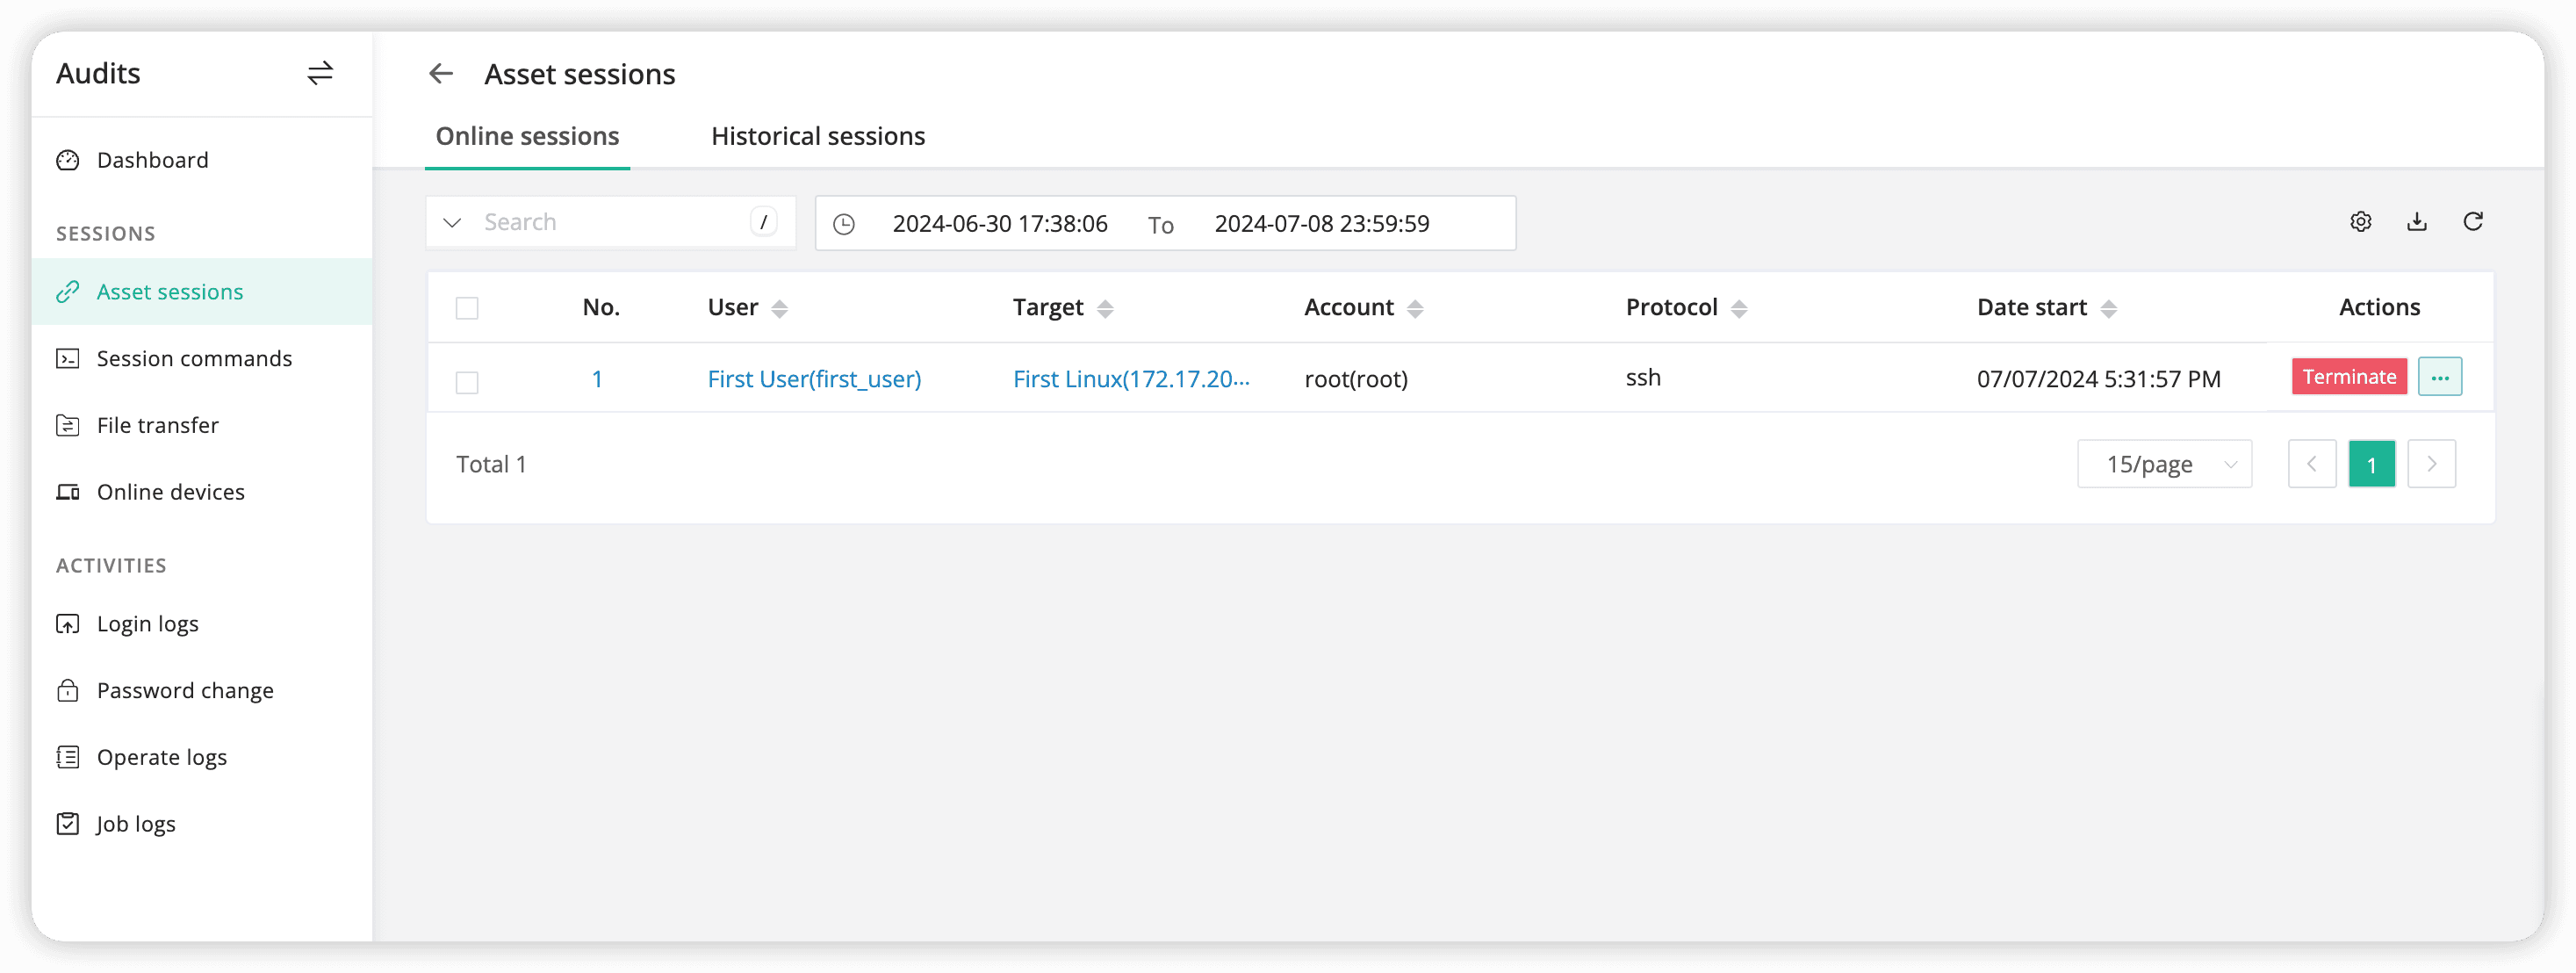
Next, while keeping the current user's asset session active, let's switch to the Administrator page. Navigate to the Audits to review the actions performed by the current user.
- Navigate to the Audits > Asset sessions page.
We observe that there is a session where the First User is connected to the First Linux asset using the root account.
- Navigate to the Audits > Session commands page, we can view the commands executed by the user.

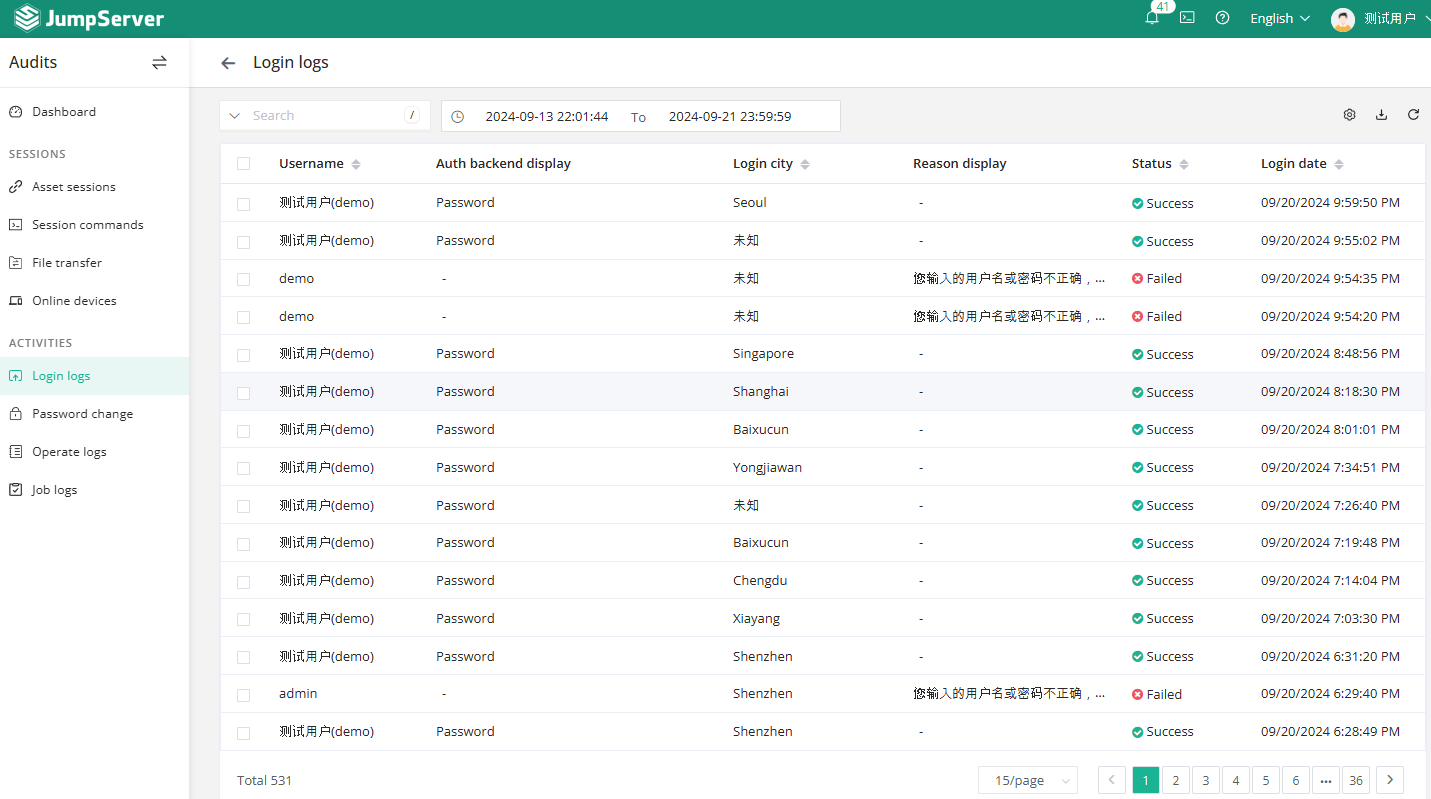
- Navigate to the Audits > Login logs page, We can view detailed login logs for the user.

Congratulations! Following this guide, you should have successfully installed JumpServer, created users and assets, authorized access, and learned to connect to assets and audit logs.
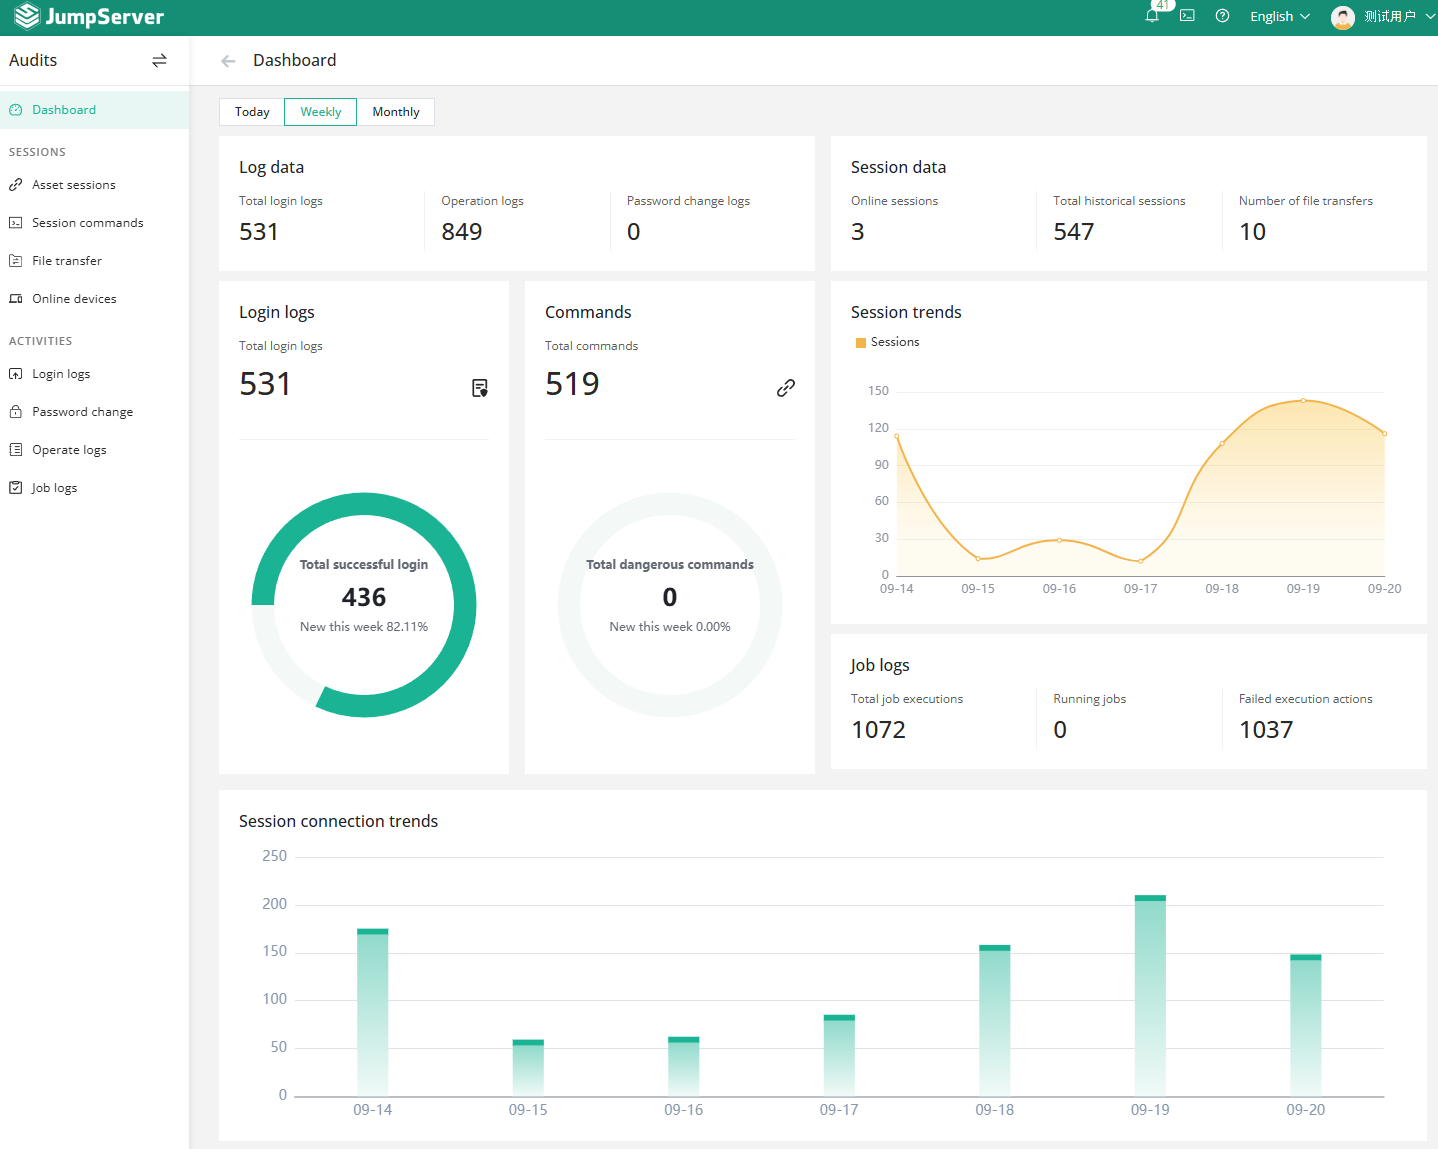
Screenshot


'Knowlege' 카테고리의 다른 글
| AI 바이브 코딩 도구와 특징 (0) | 2025.06.24 |
|---|---|
| 프리젠테이션의 기술에 대한 자료 모음 (0) | 2022.02.16 |
| 스크랩-아토스 양자 프로그래밍 도구 ‘myQLM’ 무료 공개 (0) | 2020.09.23 |


최근댓글